
🧭 Step 1: Select the Items You Want to Edit
-
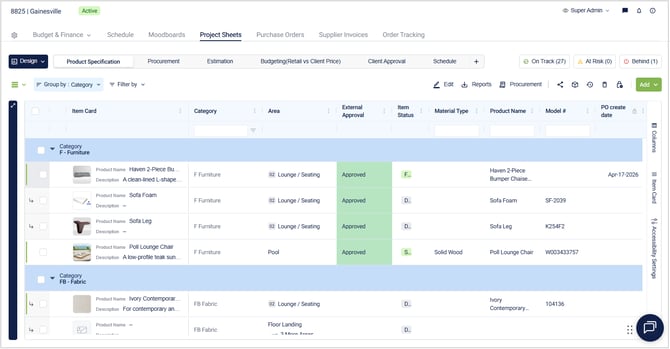
Go to your Project Sheets.
-
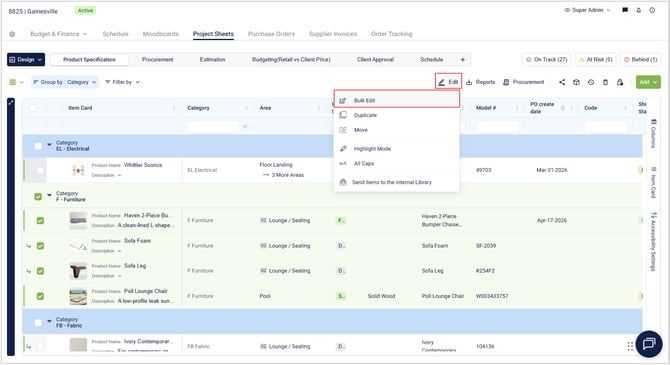
Use the checkboxes on the left to select the items you want to edit.
Pro Tip: Use the Group By option (e.g., group by Category) to easily isolate and select items that belong to the same category or other grouping logic. You can also select all the items by ticking the checkbox on the uppermost part
For example, if you need to bulk edit all Furniture items, group by Category and check the box next to Furnitureto select them all at once.
⚙️ Step 2: Open the Bulk Edit Tool
-
After selecting your items, click Edit Options in the toolbar.
-
Select Bulk Edit from the dropdown menu.
-
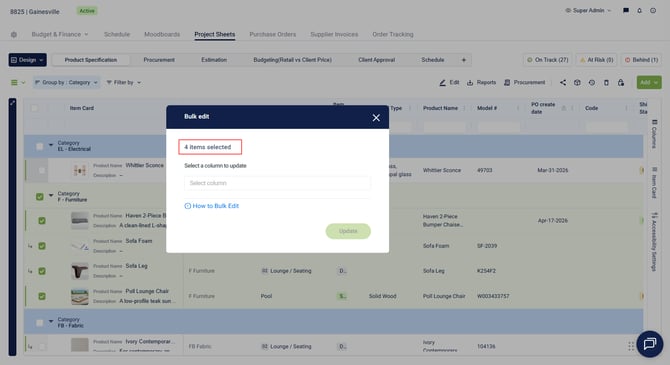
A dialog will show how many items you’ve selected.
✍️ Step 3: Choose a Column and Apply Your Changes
-
From the dropdown, choose the column you want to update.
-
For example, select External Approval to approve, approve with comments or reject items after a client meeting.
-
-
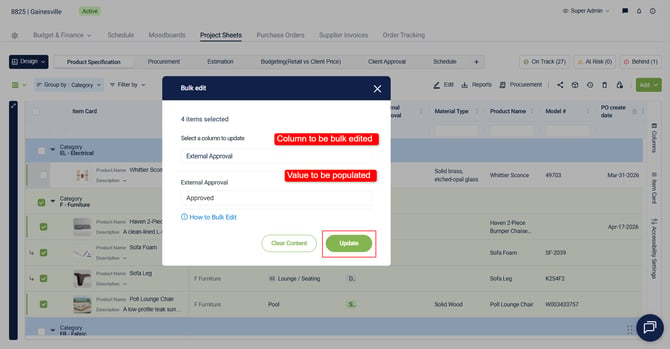
Enter or select the new value to populate across the selected items.
Note: List type columns or multiple select columns, the previously set up options will appear. For other input type columns as text, number, and dates; the value to populate needs to be manually inputted.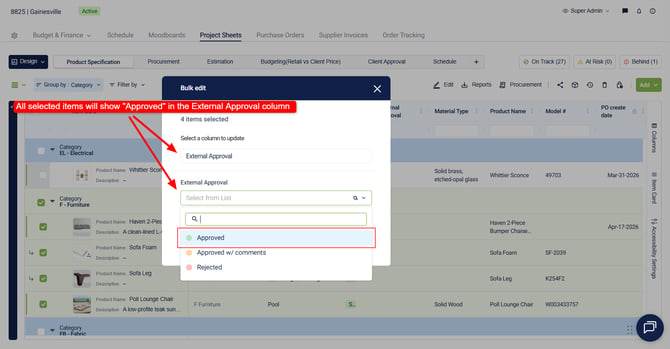
-
Click Update to apply the change.
Pro Tip💡: This is a great way to prepare item data before generating purchase orders or sharing with suppliers—for example, ensuring all selected items have the correct orientation or assigned supplier.
🧹 Optional: Clear Content in Bulk
If you want to remove values from a specific column across multiple items:
-
Select your items as usual.
-
Open the Bulk Edit tool and choose the column you want to clear.
-
Leave the value field empty.
-
Click Clear Content.
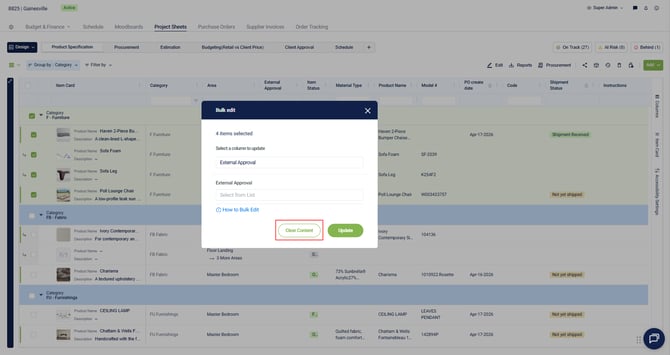
This will wipe the field for all selected items in the chosen column.
Pro Tip💡: This is especially useful when you need to quickly reset fields like status, delivery dates, or custom notes before making updates.
We hope this article was helpful, please rate the article, and reach us via Live Help if you still need assistance.