
🧭 Accessing Your Profile
-
Go to the Main Menu.
-
Expand Account Settings.
-
Select Profile.
You’ll see two main sections:
1️⃣ Personal Information
This section lets you update details specific to you:
- Profile picture
-
First name
-
Last name
-
Email address (optional)
-
Phone number (optional)
Note: The phone number shown in several reports is taken directly from your profile’s phone number field. For that reason, we recommend entering an office or company phone number, not a personal number.
2️⃣ Company Information
This section defines information used across your workspace:
-
Company Logo
-
Company Name
-
Company Address
-
Default Language
-
Default Currency
The default currency is used when:
-
Creating new contacts in your Contact Book
-
Creating new projects that do not have currency enabled
📄 Where Your Profile Information Appears
Your profile information appears in different places depending on the report or procurement document being generated.
Below is a clear breakdown of where the company logo, company name, company address, and office phone number appear.
🗂 Reports Where Profile Information Appears
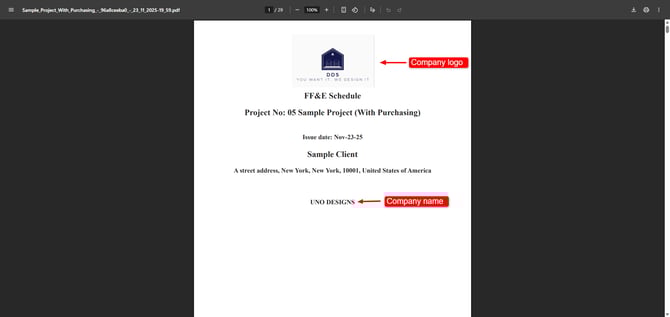
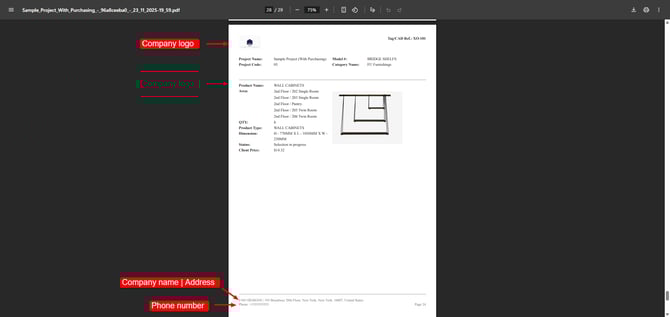
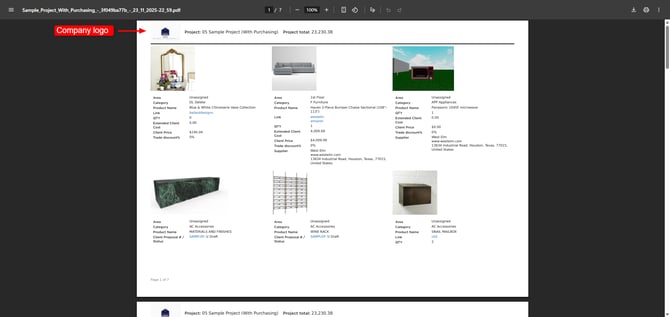
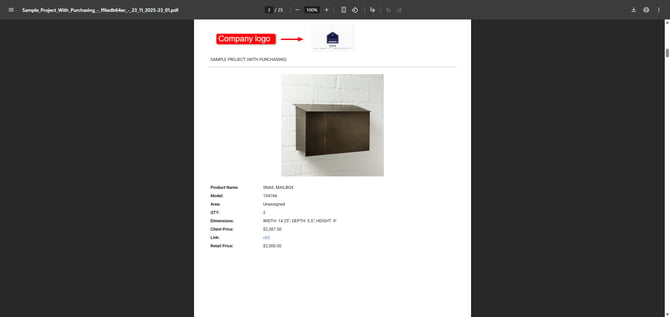
🔹 Advanced Data Sheet (PDF)
-
Logo: Yes (optional — you can toggle it on/off)
-
Company Name: Yes
-
Company Address: Yes
-
Phone Number: Yes
-
Where it appears:
-
Cover Page: Logo + Company Name
-
All Inner Pages:
-
Header → Company Logo
-
Footer → Company Name + Company Address + Phone Number
-
-
🔹 Table View Presentation (PDF)
-
Logo: Yes (optional)
-
Company Name: No
-
Company Address: No
-
Phone Number: No
-
Placement: Centered at the top of each page
🔹 Grid View Presentation (PDF)
-
Logo: Yes (optional)
-
Company Name: No
-
Company Address: No
-
Phone Number: No
-
Placement: Top-left corner
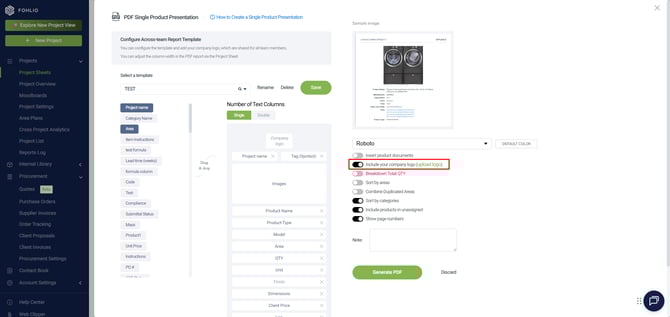
🔹 Single Product Presentation (PDF)
-
Logo: Yes (optional)
-
Company Name: No
-
Company Address: No
-
Phone Number: No
-
Placement: Centered at the top of each page
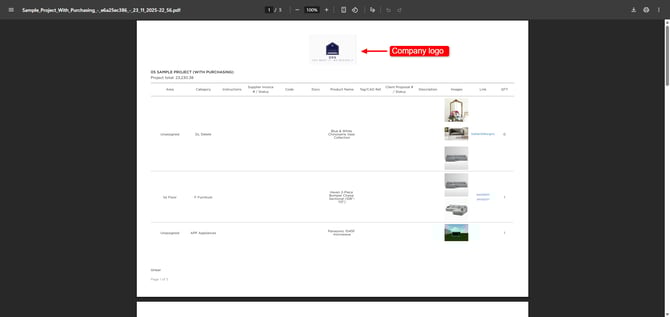
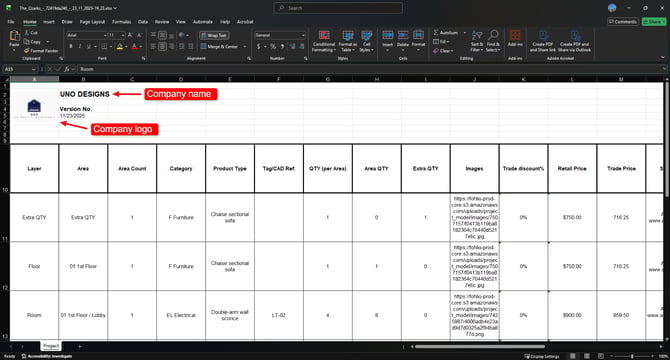
🔹 Excel Table with Product Images (Excel)
-
Logo: Yes
-
Company Name: Yes
-
Company Address: No
-
Phone Number: No
-
Placement: Header section of the Excel file
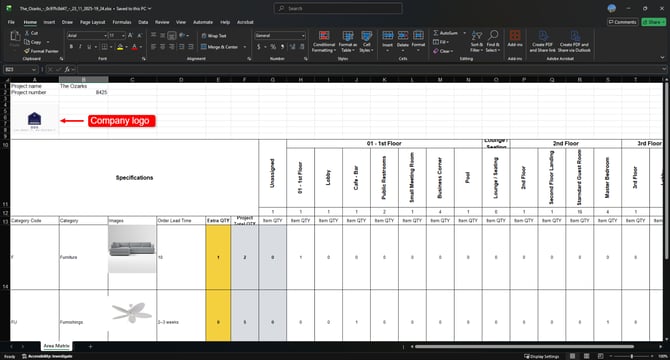
🔹 Quantity & Area Matrix (Excel/PDF)
-
Logo: Yes
-
Company Name: No
-
Company Address: No
-
Phone Number: No
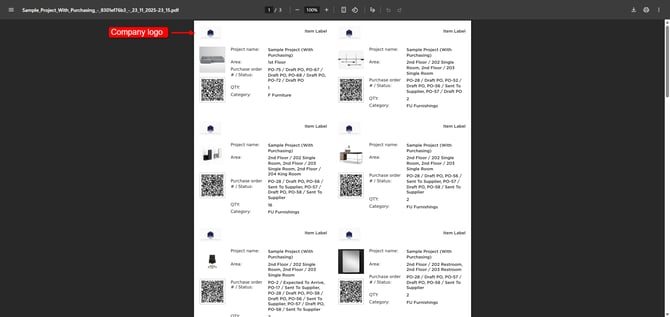
🔹 Product QR Code Report (PDF)
-
Logo: Yes
-
Company Name: No
-
Company Address: No
-
Phone Number: No
-
Placement: Top-left of every product card
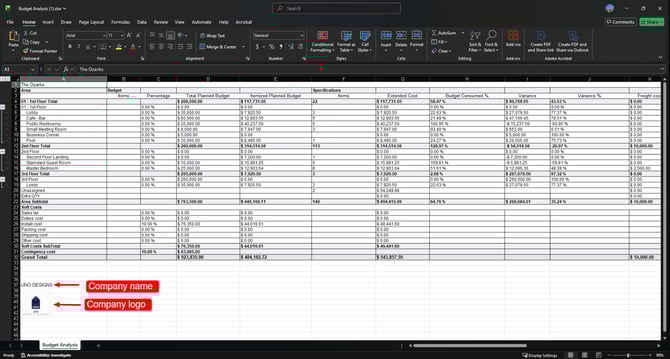
🔹 Budget Analysis (Excel)
-
Logo: Yes
-
Company Name: Yes
-
Company Address: No
-
Phone Number: No
-
Placement: Footer section
📌 Reports With Logo Toggle
These four reports allow you to include or exclude your logo during generation:
-
Advanced Data Sheet
-
Table View Presentation
-
Grid View Presentation
-
Single Product Presentation
Look for the option “Include your company logo” when generating these reports.
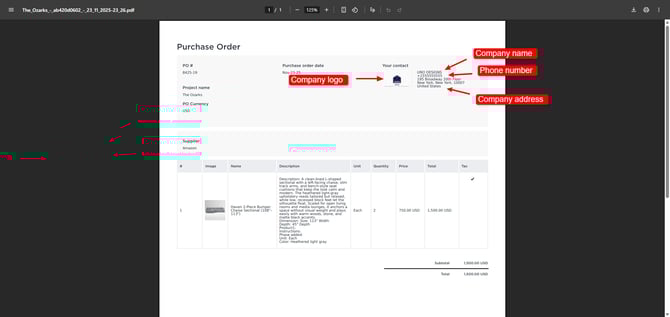
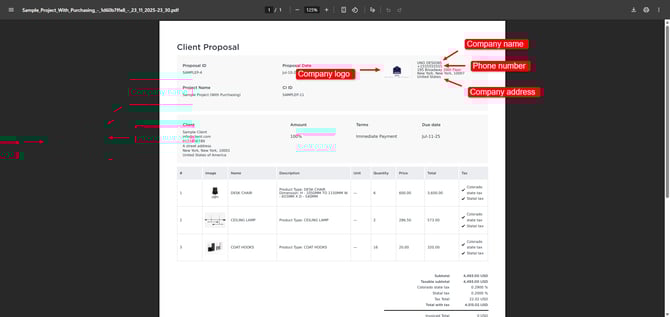
📦 Procurement Documents
These always include your company information and cannot be hidden or toggled off:
Purchase Orders
-
Logo
-
Company Name
-
Company Address
-
Phone Number (from your profile — preferably office number)
Client Proposals
-
Logo
-
Company Name
-
Company Address
-
Phone Number
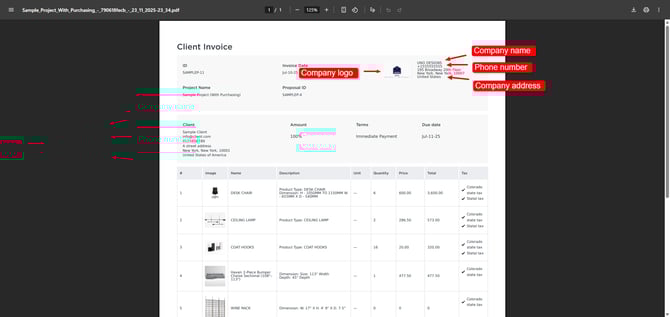
Client Invoices
-
Logo
-
Company Name
-
Company Address
-
Phone Number
Note: These fields always appear and cannot be removed from procurement documents.
Make sure your profile information is correct before sending final documents to clients or vendors.
✅ Wrap-Up
Your profile information flows directly into your reports and procurement documents. Keeping this data accurate ensures that every exported file reflects your company branding correctly and professionally.
If you have any questions, feel free to reach out via Live Help.